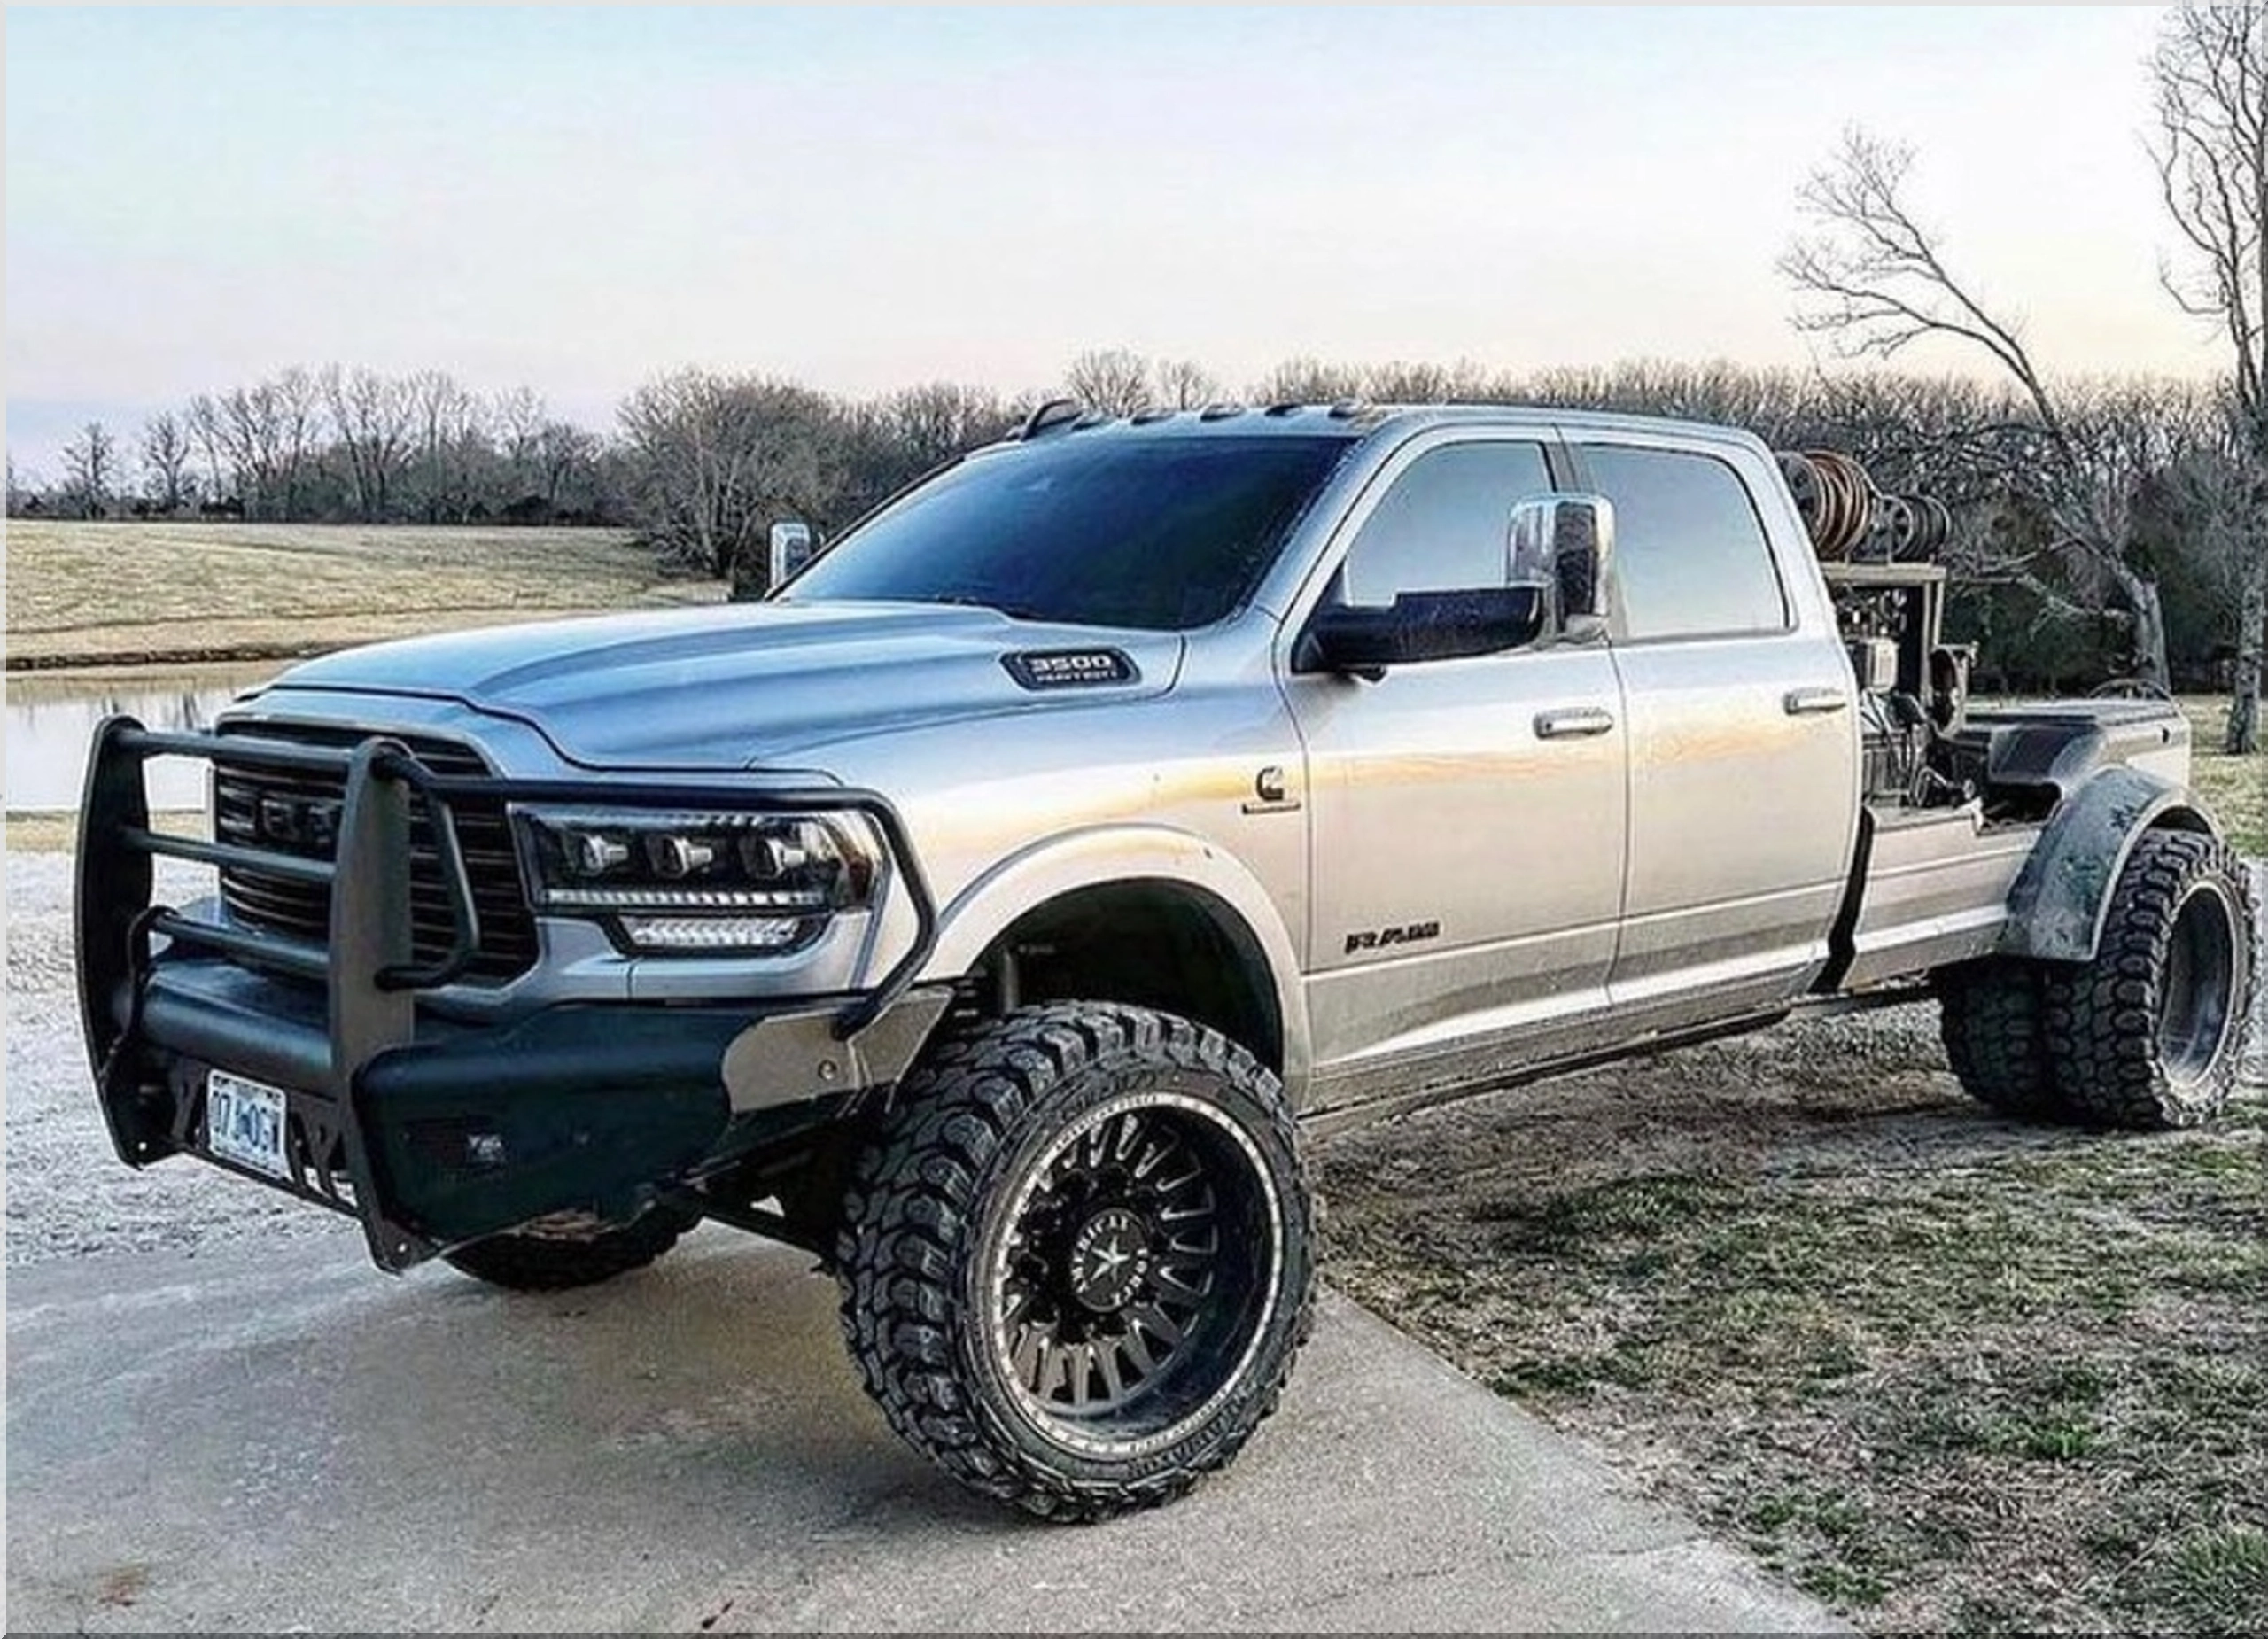
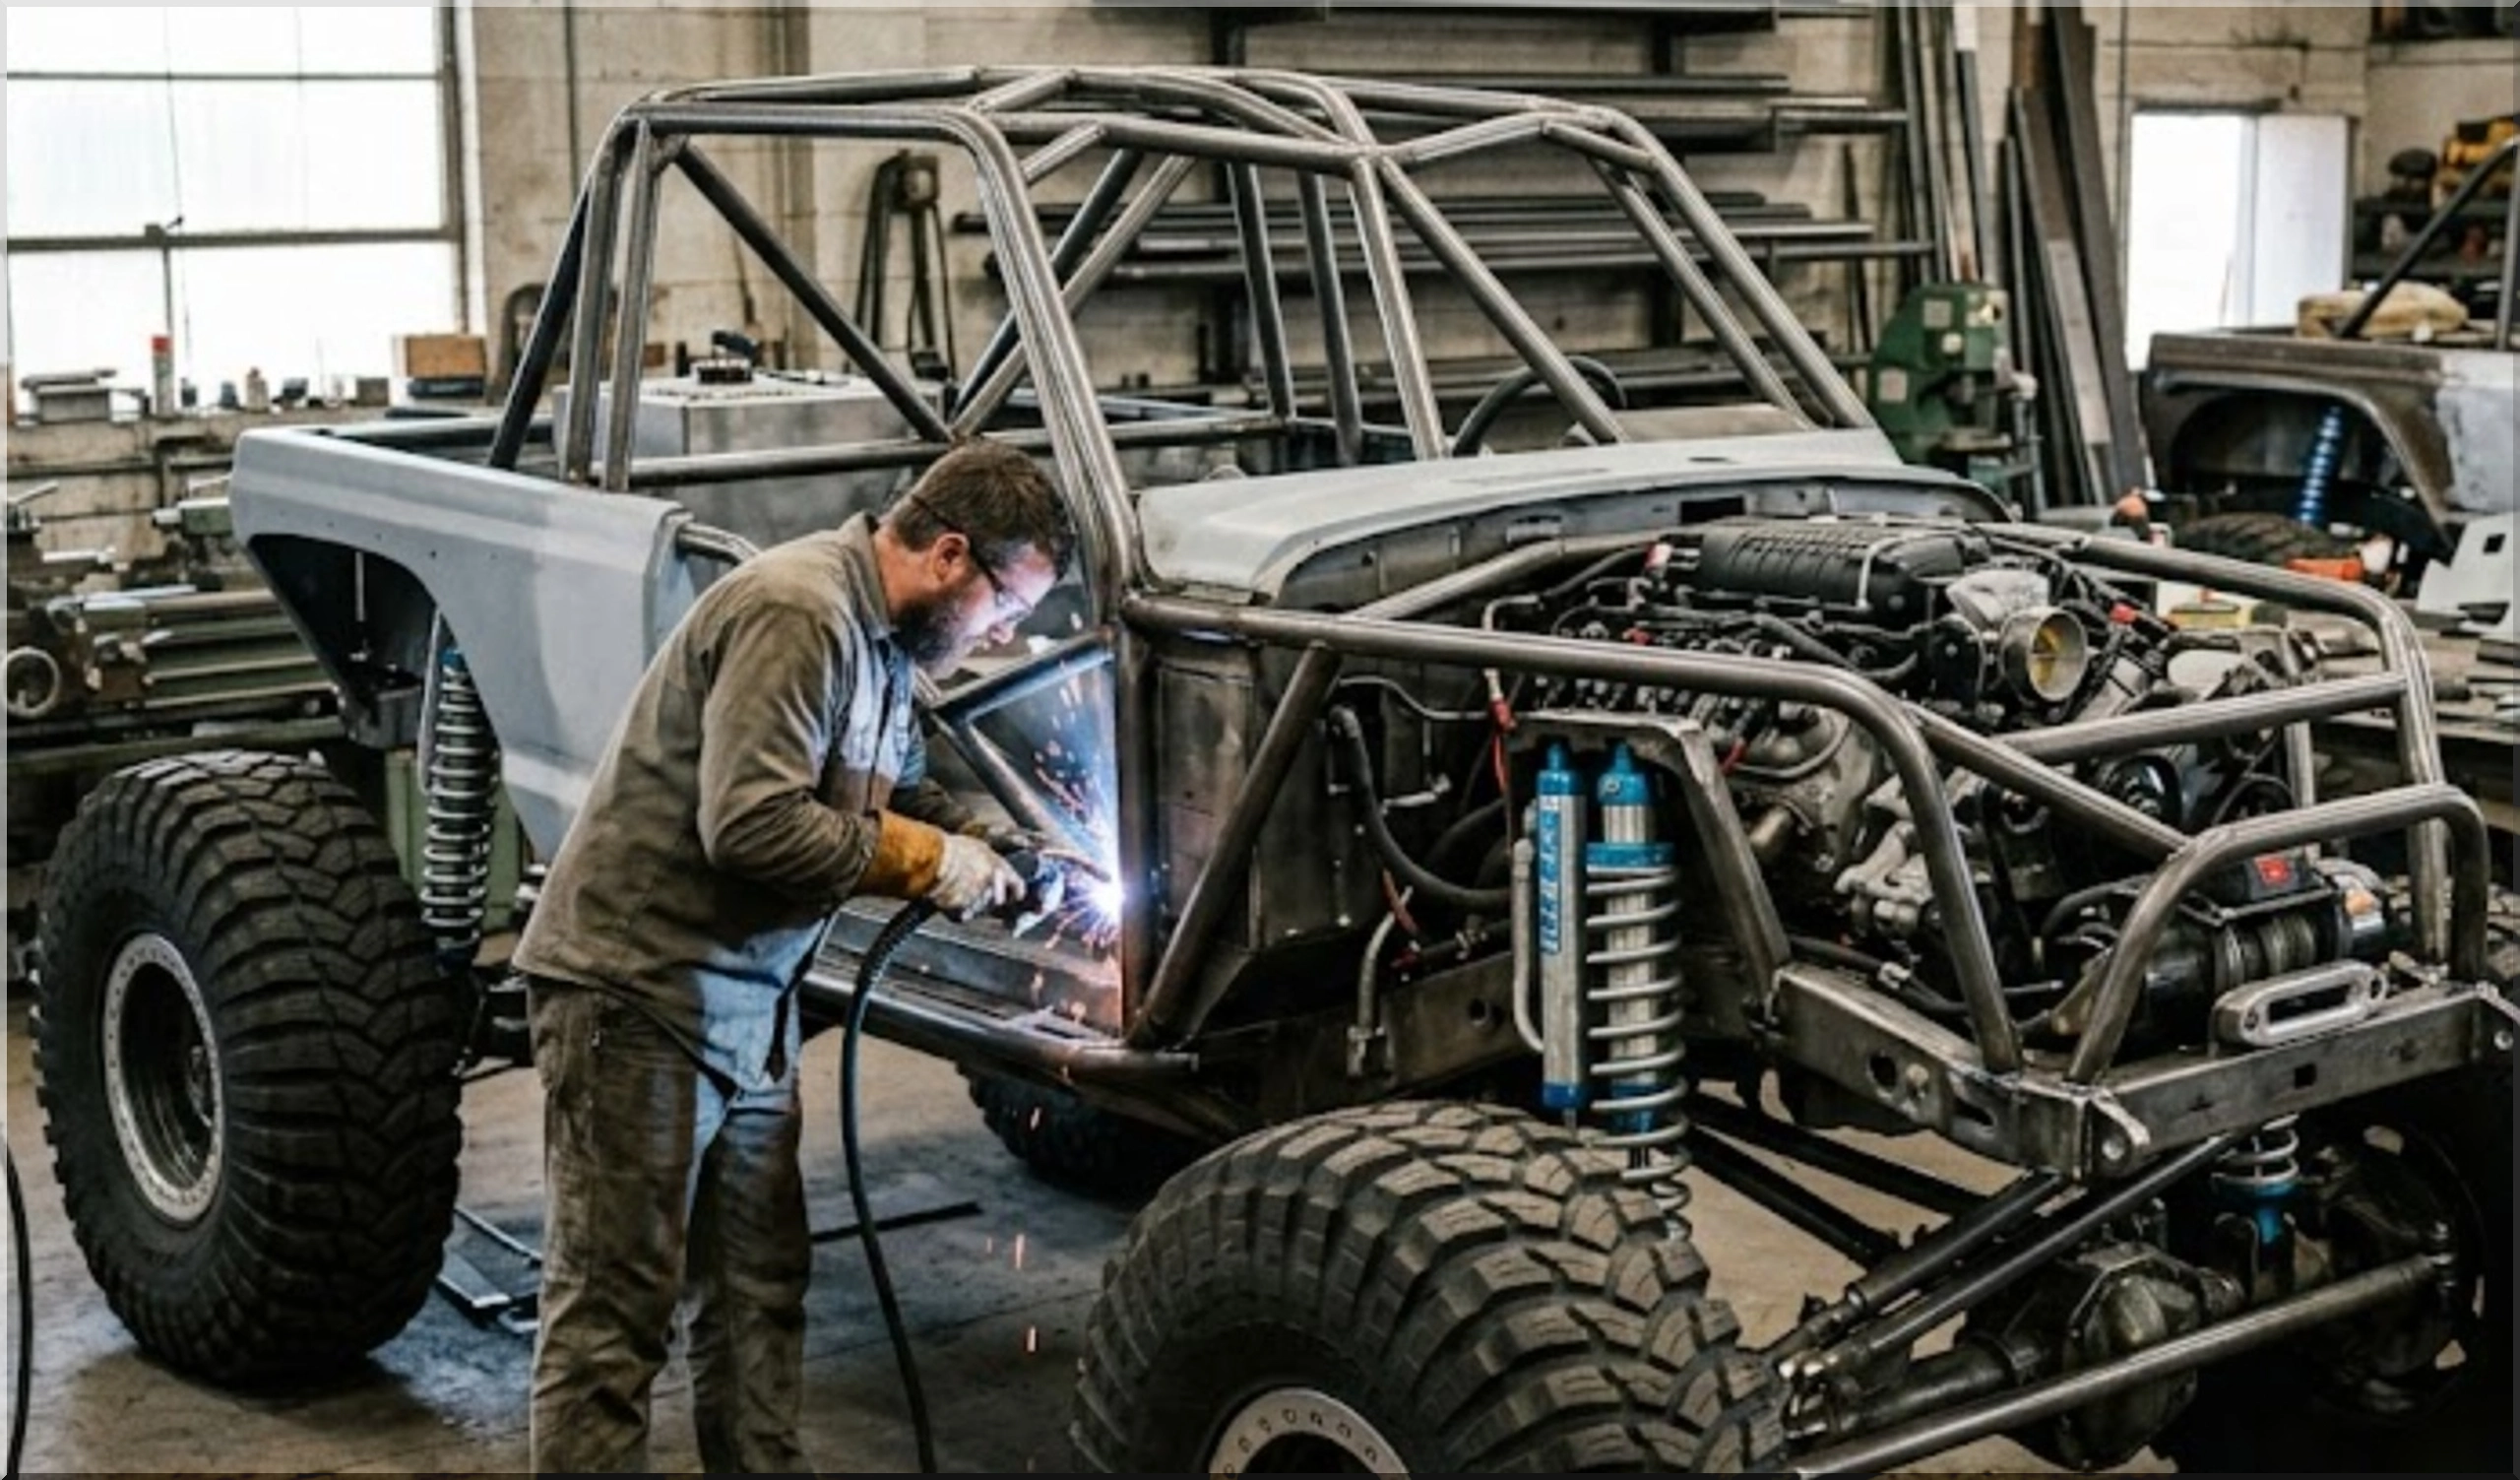
Upgrading a four-wheel-drive vehicle or constructing a custom off-road rig from scratch is an exhilarating challenge for any automotive enthusiast. When modifying a suspension system, boxing a weak frame rail, or building a heavy-duty bumper, standard catalog items rarely fit the bill. True off-road durability requires strong, heavy-gauge steel parts that can handle intense vibrations, trail impacts, and extreme suspension twisting. This leaves home builders with a tough choice: manually cut every complex bracket out of raw steel sheets or rely on pre-machined components to push their projects forward.
Attempting to hand-cut intricate tabs, link mounts, and gussets using basic garage tools like an angle grinder or a plasma torch often backfires. Hand-cutting compromises the symmetry of crucial suspension geometries and wastes significant build time on tedious cleanup grinding. Component failure logs show that uneven hand-cut edges introduce microscopic stress cracks that can split under intense trail loads. For garage builders focused on engineering safety, sourcing precision laser-cut components from specialized supply hubs like FRDM Fabs guarantees that your structural tabs and frame brackets possess perfectly clean, uniform edge profiles. This precision makes fitment and welding effortless while ensuring your custom chassis can withstand severe off-road stress.
1. The Real Cost of Hand-Cutting vs. Using Pre-Cut Structural Components
Many DIY mechanics believe that cutting their own brackets out of scrap sheet metal saves money. However, a closer look at the actual fabrication process reveals a major deficit in both time efficiency and build safety.
The Hidden Costs of Hand-Fabrication
To cut a single shock bracket out of a quarter-inch steel plate by hand, you have to measure the shape, trace it, cut it with an angle grinder, and spend twenty minutes drilling out the bolt holes. This intense friction quickly destroys expensive consumable items like cutting discs, flap wheels, and high-speed drill bits. When you add up the price of these replacement consumables alongside the hours spent hunched over a workbench, the financial advantage of DIY cutting disappears completely.
The Advantage of Edge Precision
Industrial laser and plasma cutting systems rely on computerized software to slice through thick steel plates in seconds. This automated process creates a perfectly smooth, vertical edge profile with zero heat distortion. Hand-cutting with a torch leaves behind jagged edges and heavy slag formations that must be entirely ground away before welding. If you fail to clean a hand-cut edge completely, the leftover impurities can mix into your weld puddle, creating hidden pockets of porosity that severely weaken the joint.
2. Essential Pre-Cut Components for Every Custom Suspension Build
If you are designing a custom link suspension or reinforcing a factory frame, keeping a clean stock of standard builder components on your welding bench makes the assembly process run smoothly.
Suspension Tabs → Secure shocks, limit straps, and sway bars. Available in flat or radiused bases.
Link Tabs → Capture heavy-duty spherical joints (Heim joints). Engineered for high twisting forces.
Frame Gussets → Interlock perpendicular tubing or frame corners to eliminate structural bending.
Standard Mounting Tabs and Brackets
Mounting tabs are the simple, small steel brackets used to attach accessories like off-road lights, brake lines, limit straps, or shock absorbers to your frame or roll cage. You can purchase these tabs with either a flat bottom for flat plate mounting or a curved, radiused bottom designed to sit perfectly flush against round steel tubing.
High-Stress Suspension Link Tabs
Suspension link mounts are the heavy-duty brackets that anchor your control arms to your vehicle's axle housing and frame rails. Because these components endure intense pushing and pulling forces whenever the tires hit an obstacle, they are typically cut from heavy quarter-inch structural steel. Choosing a link tab designed with a matching teardrop profile adds extra surface area along the weld seam, distributing the stress evenly across the frame tube.
3. How to Safely Weld Laser-Cut Components to Your Frame
Once you receive your pre-cut builder parts, executing proper surface preparation and welding steps is essential to ensure that the final structural bond matches the strength of the steel itself.
- Completely Remove Mill Scale: New steel components arrive with a dark gray outer layer known as mill scale, which forms during the steel rolling process. Welding directly over mill scale creates a brittle, contaminated weld. Use a clean stripping disc to grind the mounting edges down to bright, shiny silver metal before striking an arc.
- Bevel Heavy Plate Edges: For structural parts that are a quarter-inch thick or greater, grind a 45-degree chamfer or bevel along the welding edges. This creates a small V-groove when the bracket is clamped to the frame, allowing your weld puddle to penetrate deeply into the center of the metal rather than just sitting on the surface.
- Manage Your Ground Clamp Placement: Always place your welder’s ground clamp directly onto the main structure you are actively welding. For example, if you are welding a bracket onto an axle housing, clamp the ground directly to the axle tube to ensure the electrical current flows cleanly through the weld zone without arcing through your delicate internal axle bearings.
4. Key Inspections Before Clearing a Build for the Trail
Before taking your newly fabricated rig out into the dirt, execute these three critical safety checks across your newly welded brackets:
- Conduct a Visual Weld Inspection: Look closely at your finished weld beads. The weld should look uniform and blend smoothly into both the bracket and the frame without any deep gouges—or undercut—along the edges of the seam.
- Verify Complete Bolt Clearance: Slide your grade-8 suspension bolts completely through the bracket holes. The bolt should pass through cleanly without sticking, ensuring the bracket didn't twist or warp during the cooling phase.
- Perform a Full Suspension Cycle Test: Remove your coil springs or coilovers and use a floor jack to move the axle through its full range of upward and downward travel. Ensure that your control arms and shock brackets rotate freely without binding against the frame.
Building Off-Road Integrity and Confidence
Constructing a reliable off-road vehicle relies on utilizing components that can consistently handle extreme mechanical forces. By moving away from inaccurate, tedious hand-cutting methods, you can focus your time and attention on what matters most: proper suspension angles, square frame measurements, and deep weld penetration. Incorporating precision laser-cut tabs, robust link mounts, and structural gussets into your design gives your vehicle a professional finish while providing the structural strength needed to conquer the toughest trails with complete peace of mind.
- Add new comment
- 318 views