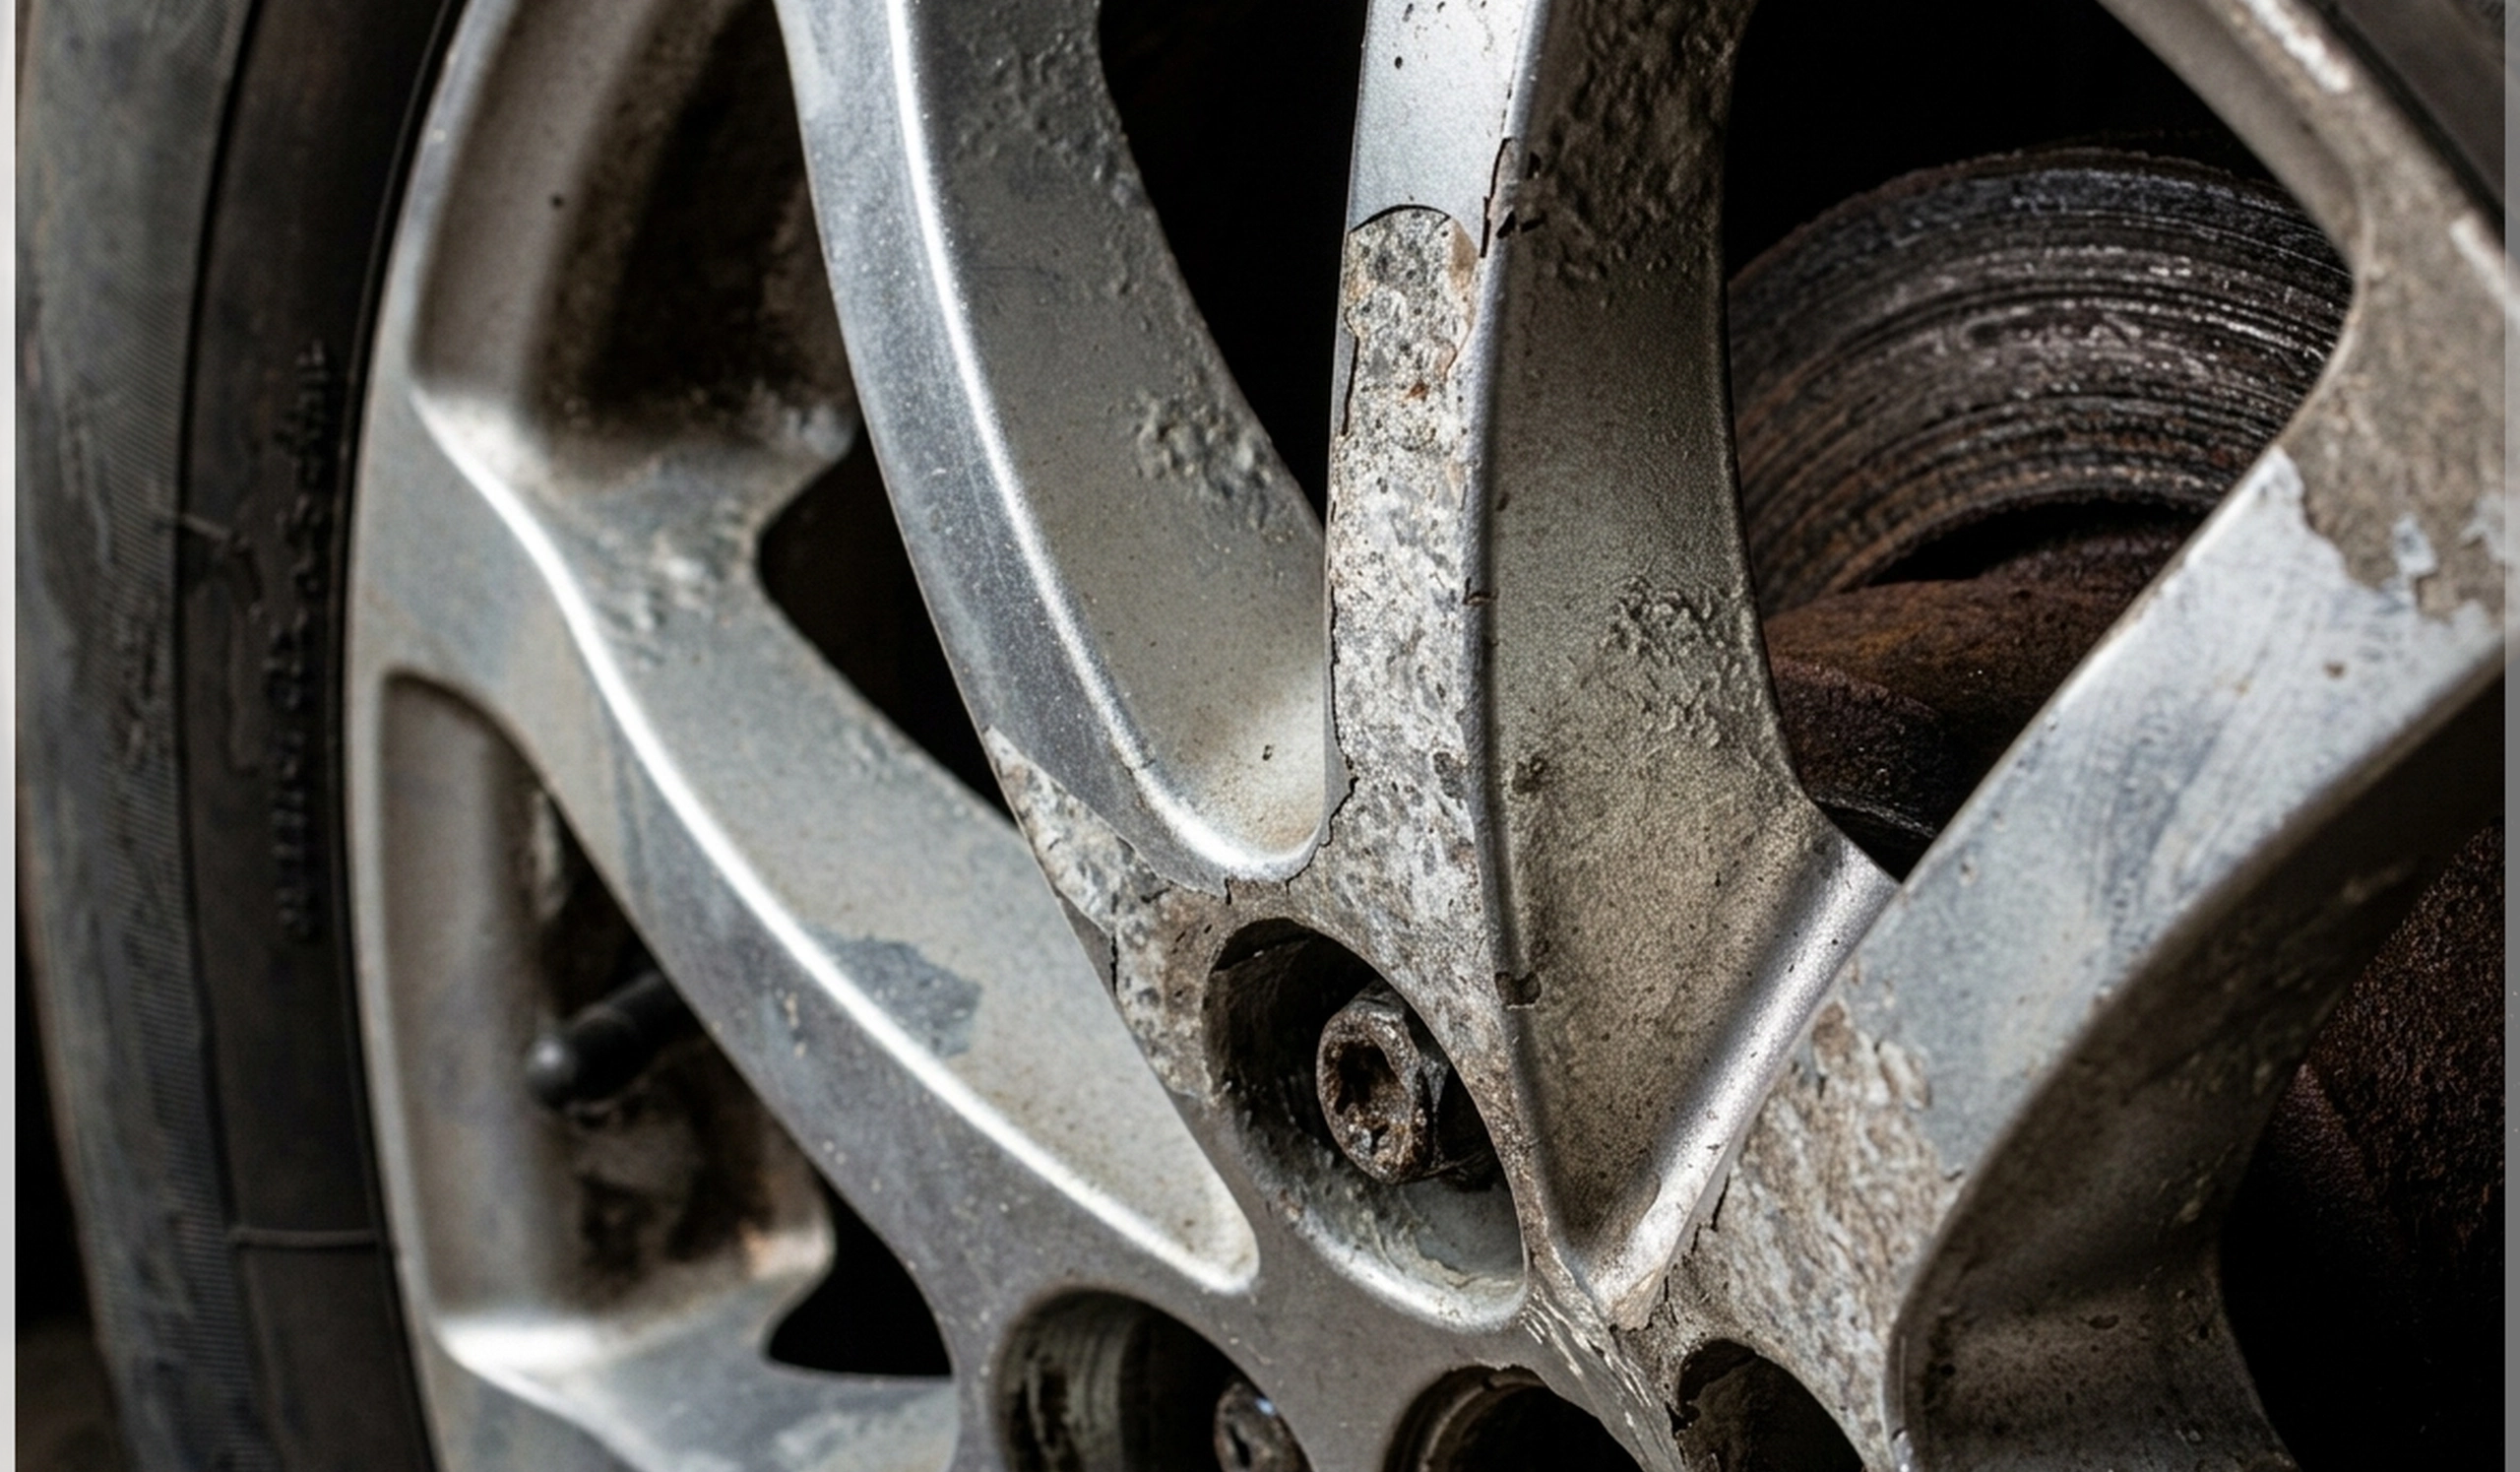
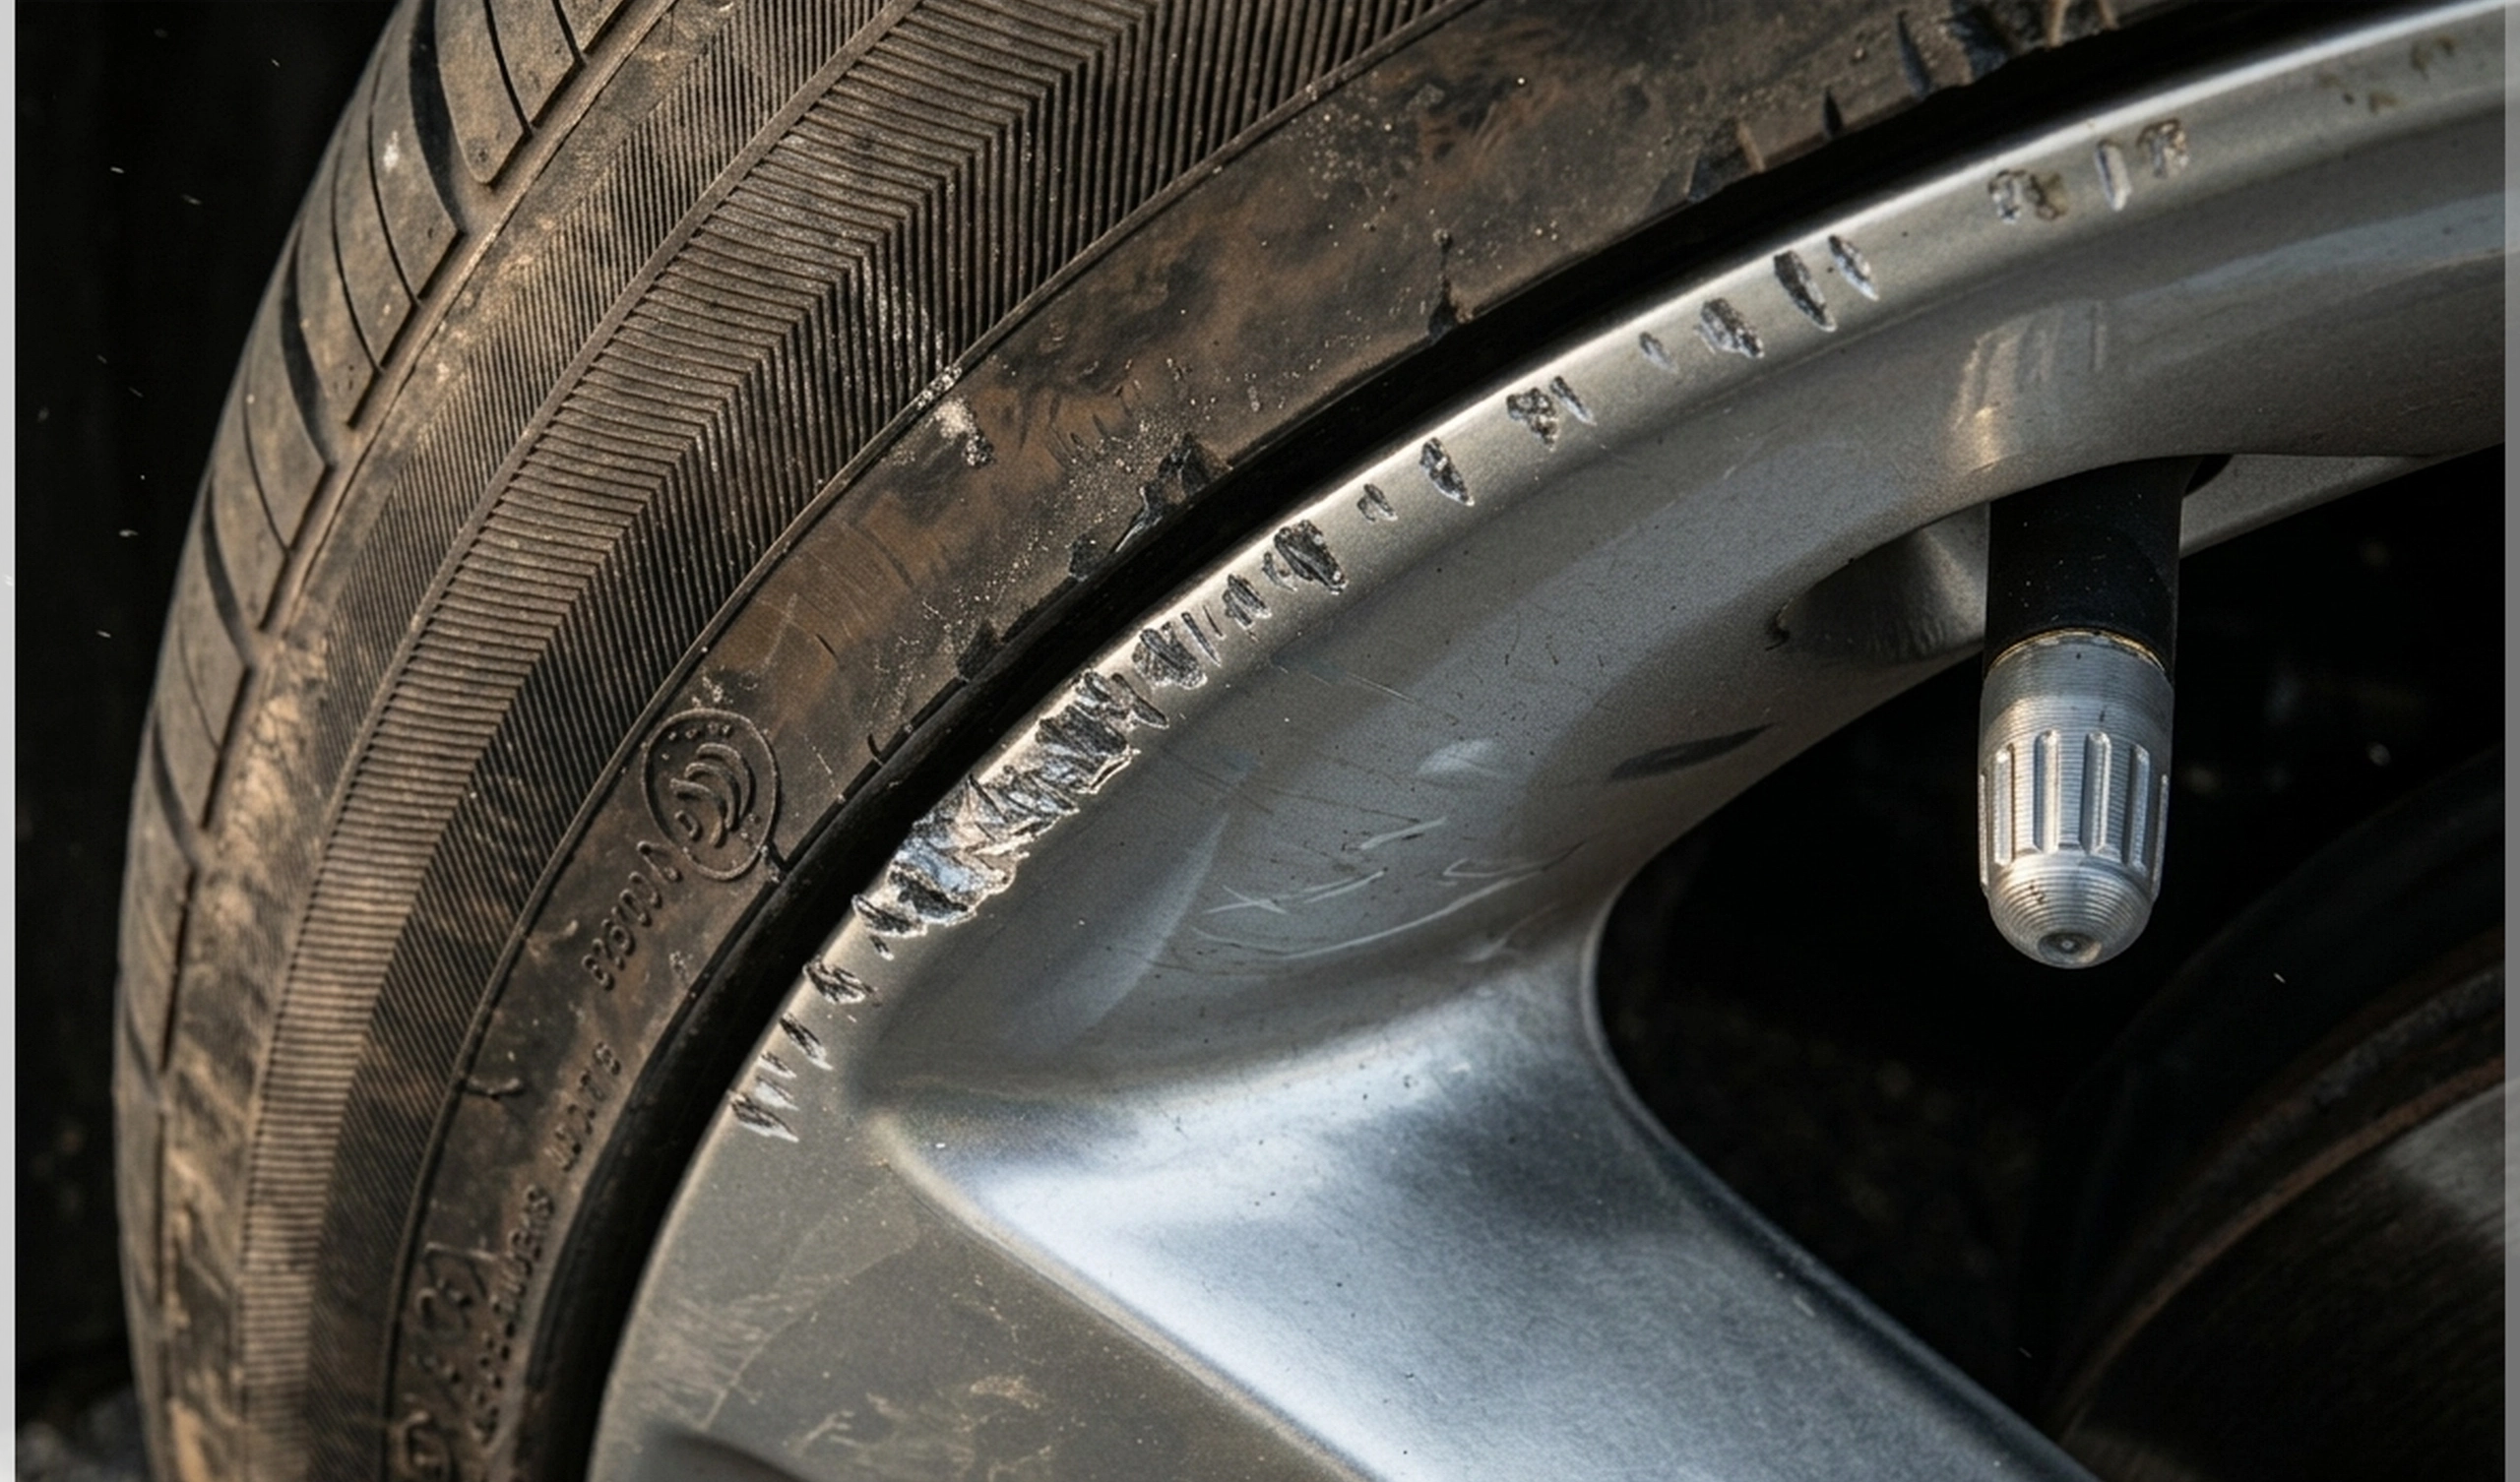
Curb rash is the parking-lot tattoo nobody asked for. One tight drive-thru, one raised curb, one distracted parallel park, and your clean alloy wheel now wears a silver scar around the rim. The good news: light curb rash often falls into the cosmetic category, which makes it a realistic weekend repair for patient DIYers.
The important part is knowing where cosmetic damage ends and safety risk begins. A DIY curb-rash repair can restore the finish. It cannot straighten a bent rim, seal a cracked wheel, rebuild a bead seat, or make a structurally compromised wheel safe again.
Quick answer: can you fix curb rash yourself?
You can usually DIY repair light cosmetic curb rash on painted alloy wheels if the wheel holds air, the damage sits on the outer lip or face, and you see no cracks, bends, vibration, or deep missing metal.
You should stop DIY and get professional help if the wheel is cracked, bent, leaking air, vibrating at speed, damaged near the bead seat, or gouged deeply into the metal.
Image
What curb rash actually damages
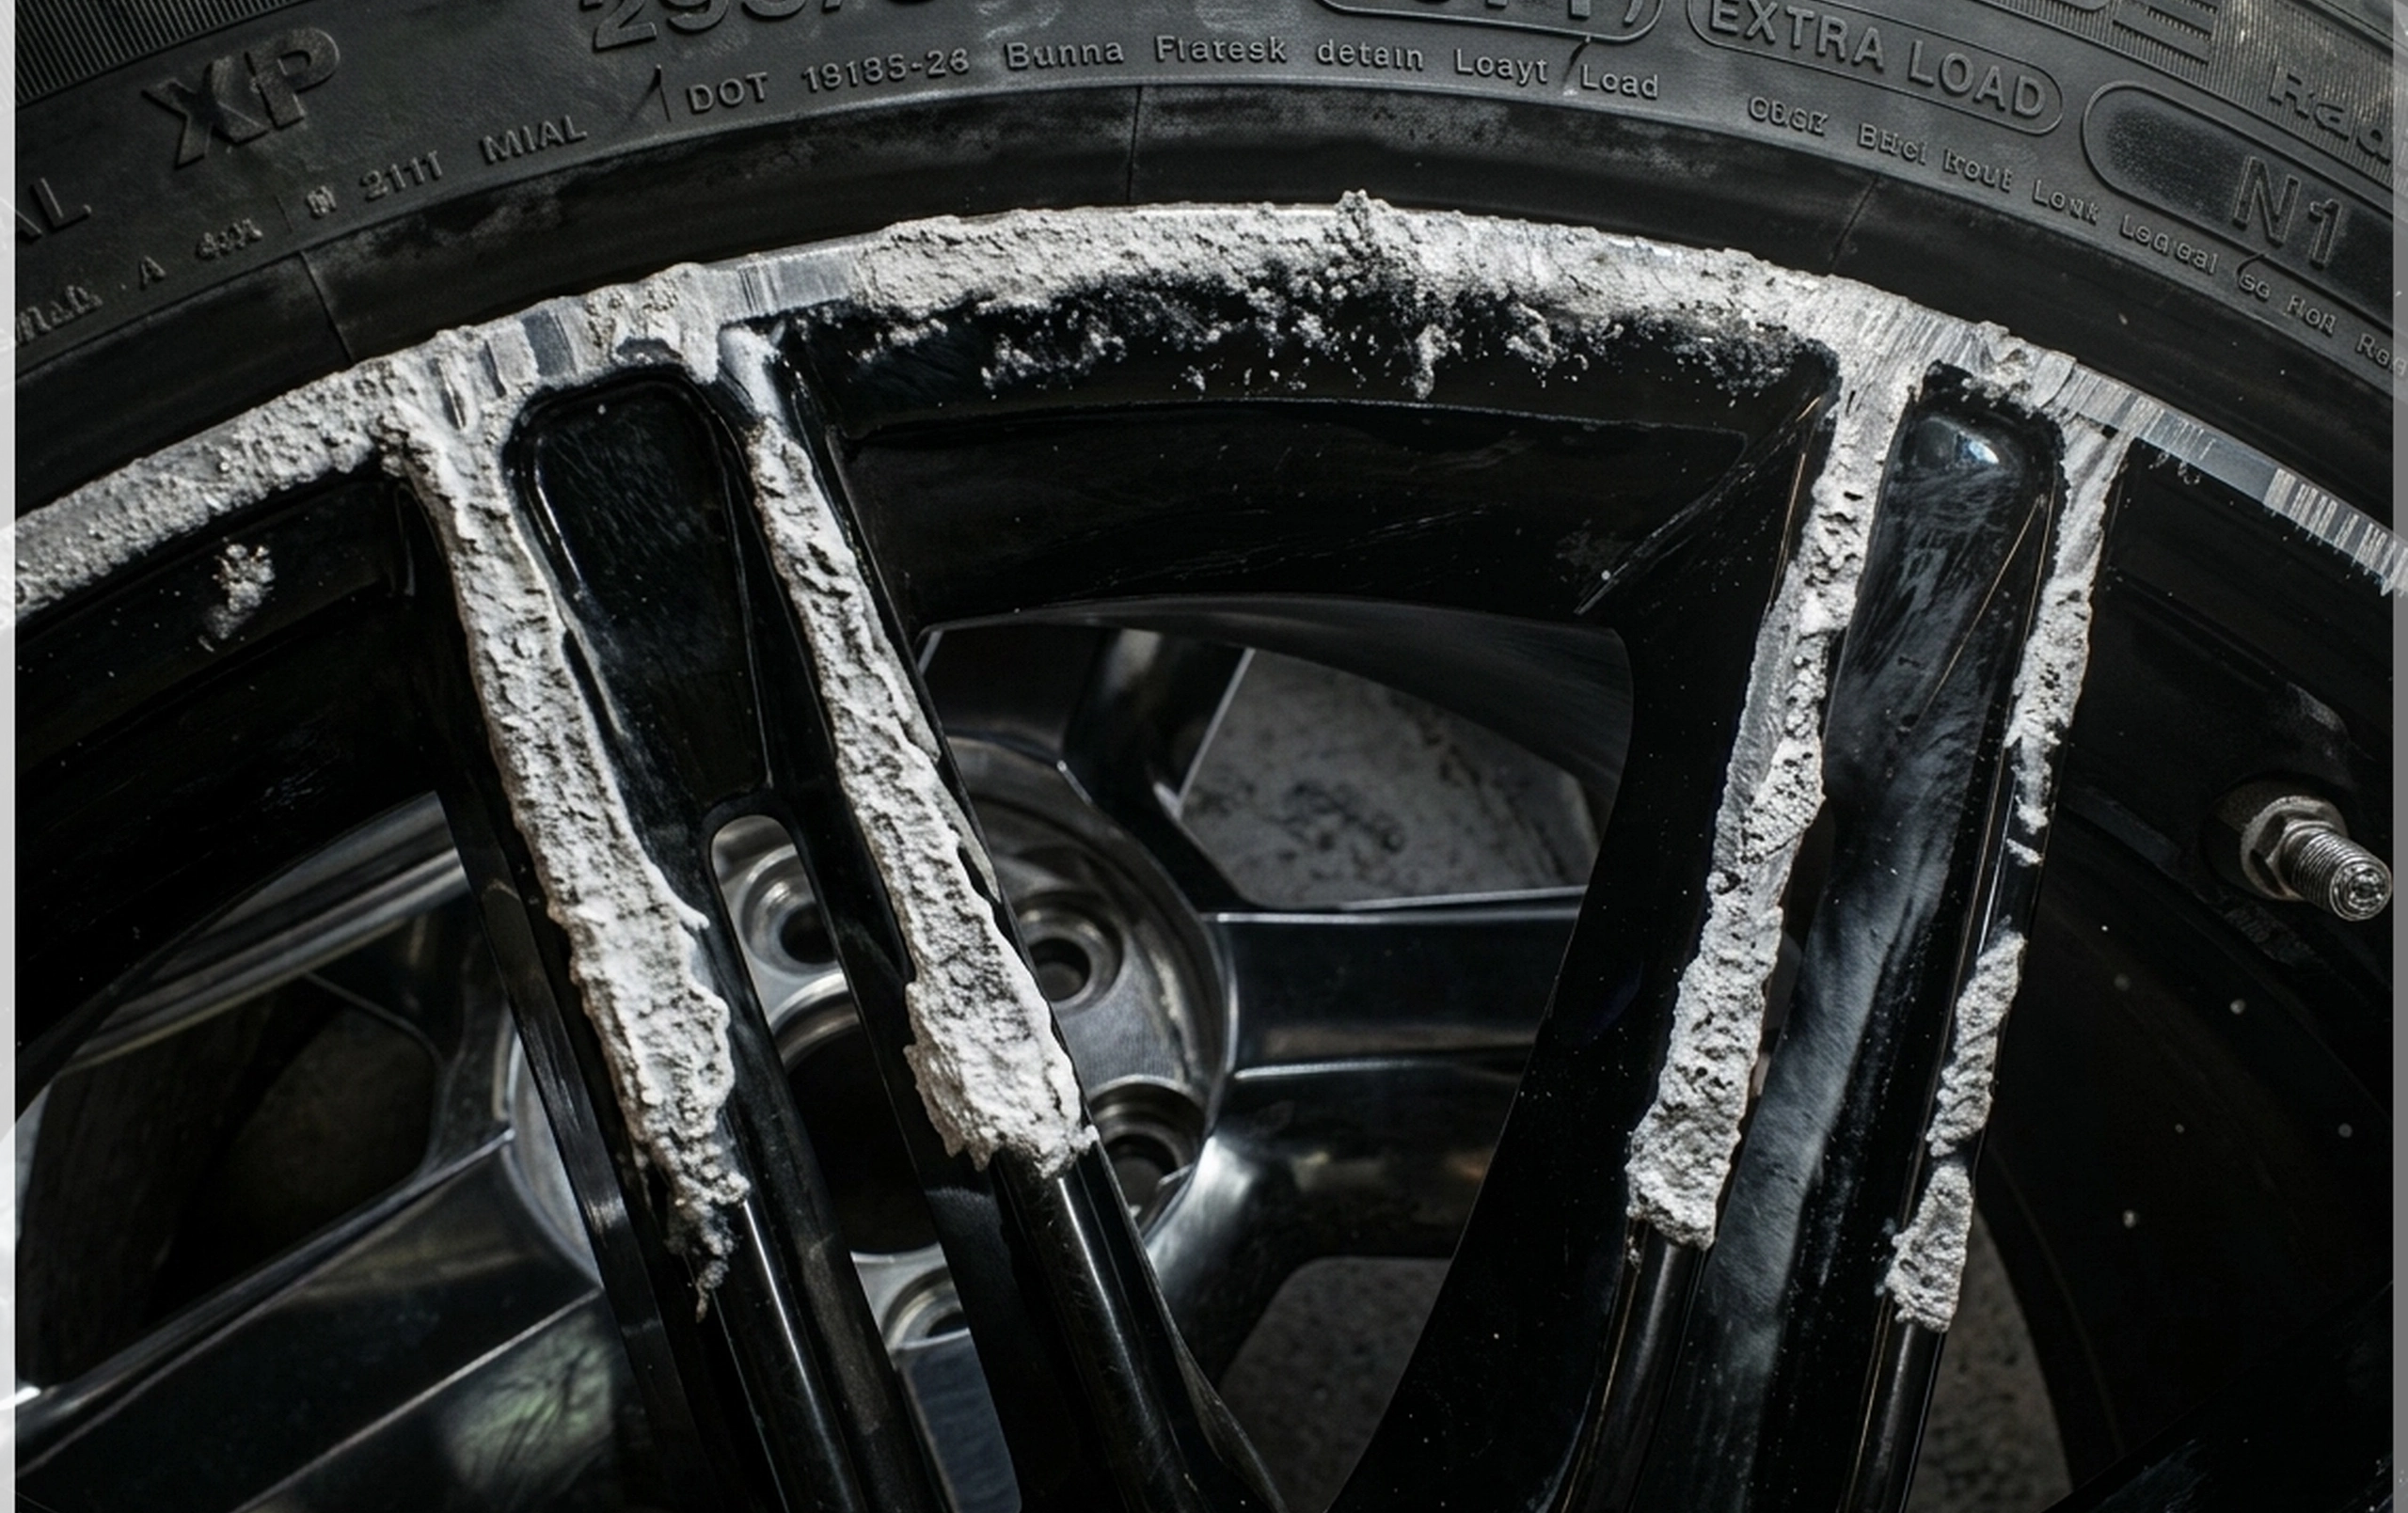
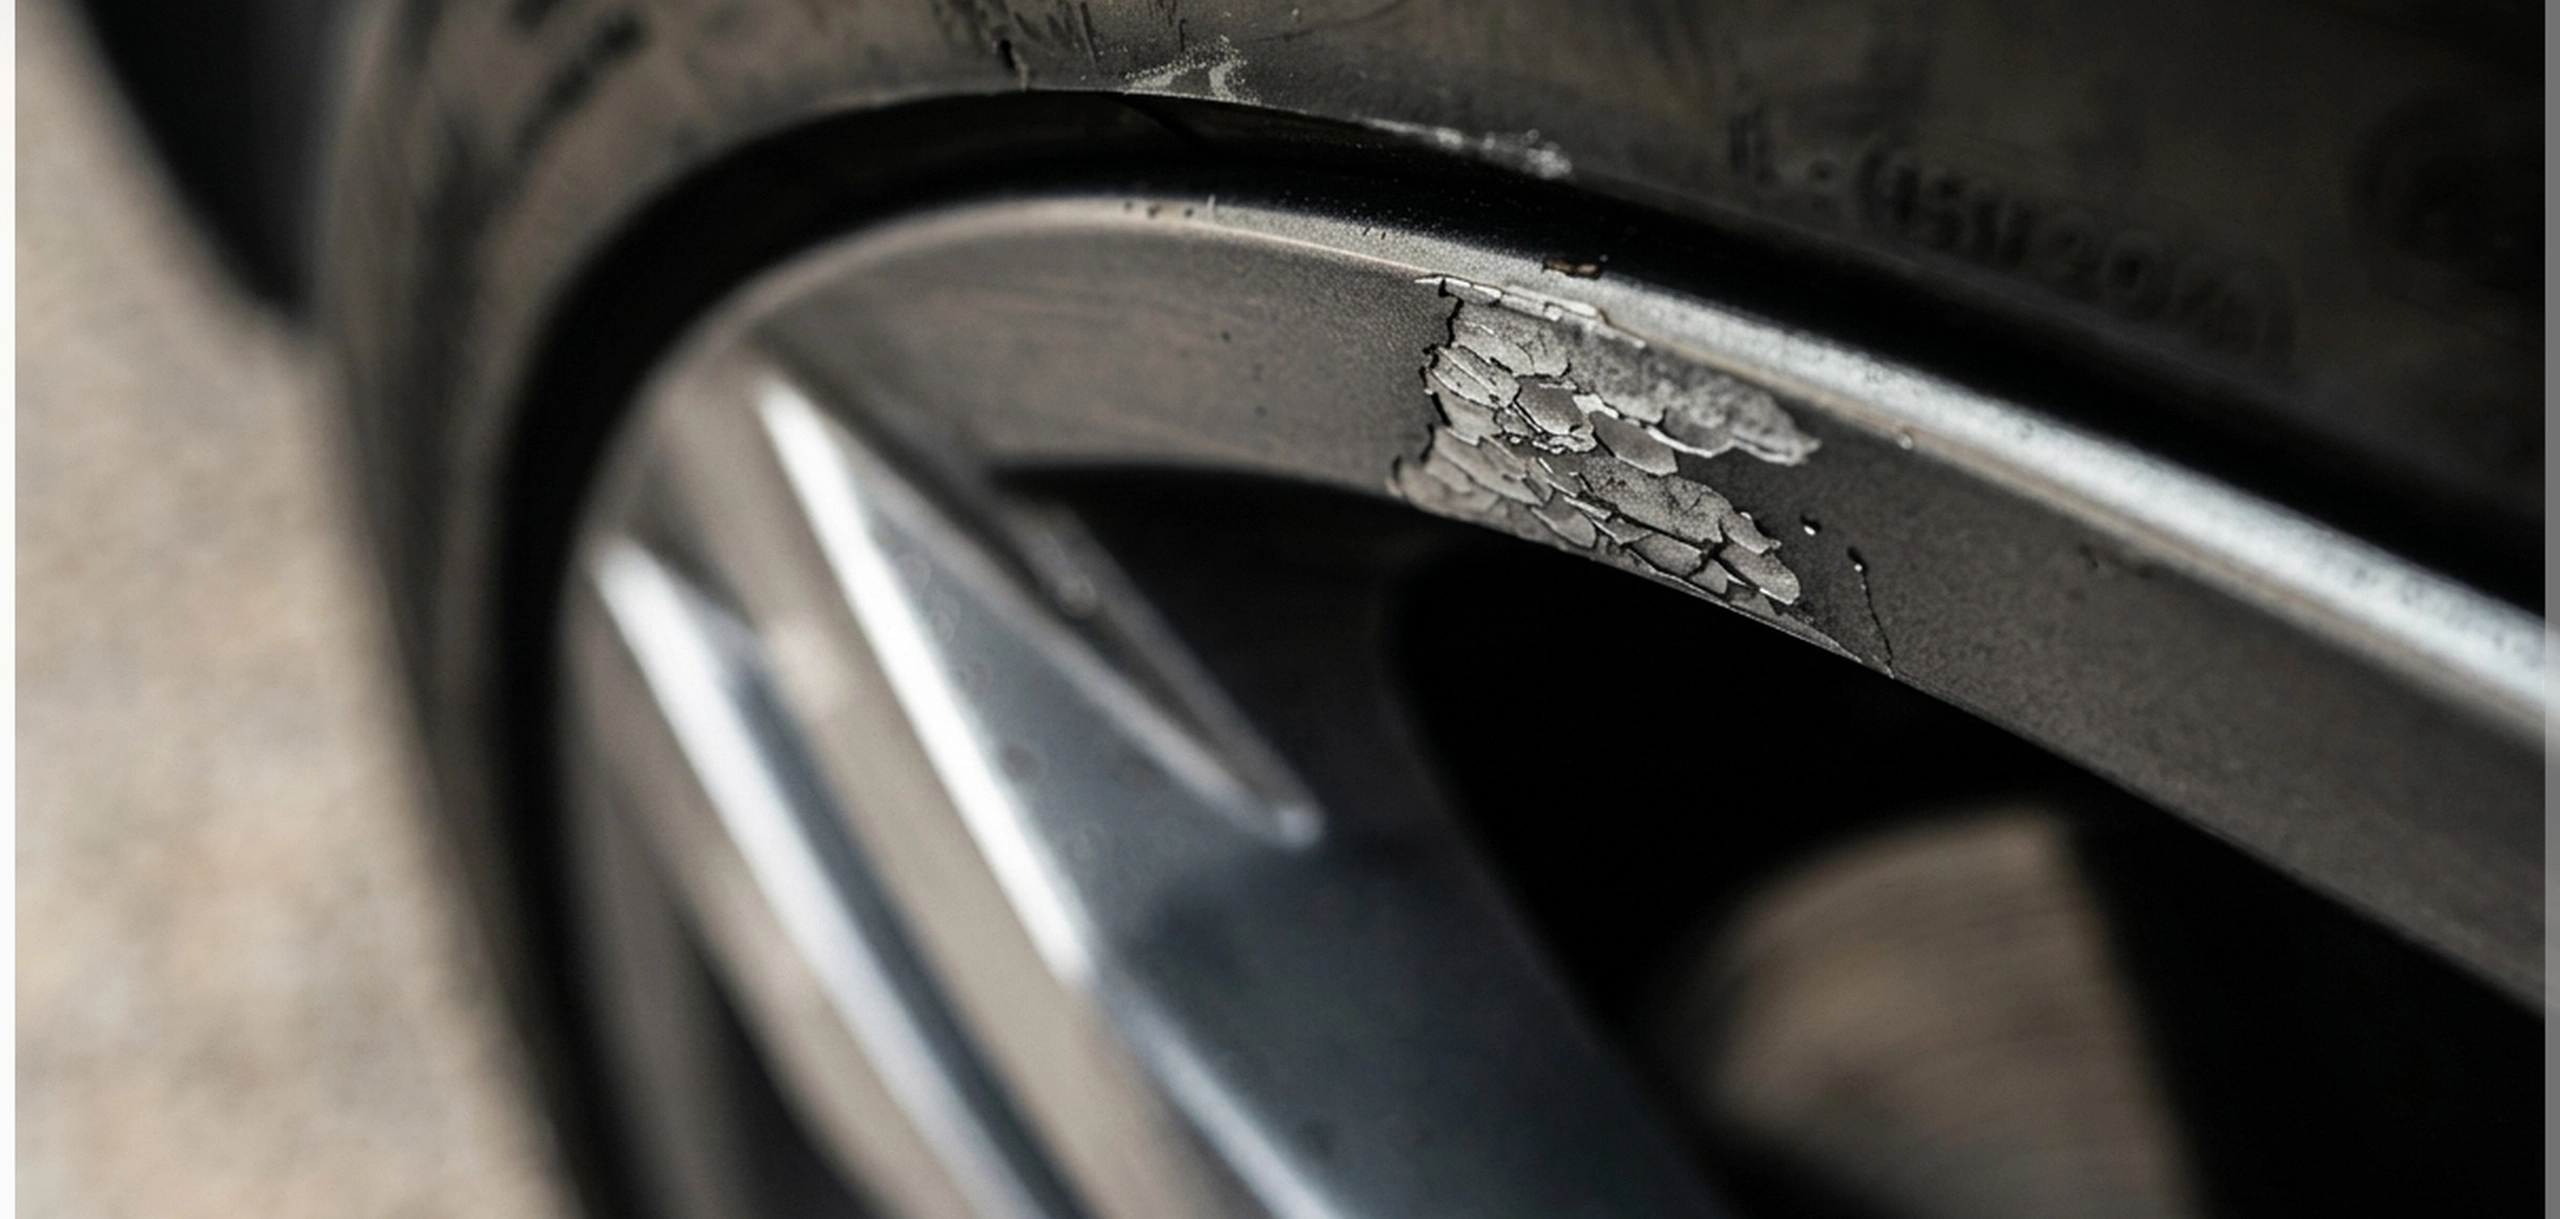
Curb rash usually scrapes through the wheel's clear coat and paint, then exposes bare aluminum underneath. Once exposed, the alloy can oxidize, stain, or corrode. That makes a small scrape look worse over time, especially in winter states where road salt turns cosmetic damage into a crusty science experiment.
Most curb rash affects the outer rim lip. That is the common DIY zone. More serious impacts can bend the lip, disturb the tire bead seal, crack the wheel barrel, or damage the spoke area. That is where the job leaves the driveway and belongs with a wheel repair specialist.
Safe vs unsafe curb rash: visual decision guide
| What you see | Likely issue | DIY status | Best next step |
|---|---|---|---|
| Light scuffs on the outer lip | Clear coat and paint damage | DIY-friendly | Sand, fill if needed, prime, paint, and clear coat. |
| Paint chips with shallow metal scratches | Cosmetic alloy exposure | DIY-friendly | Clean thoroughly, feather sand, use alloy filler only if needed. |
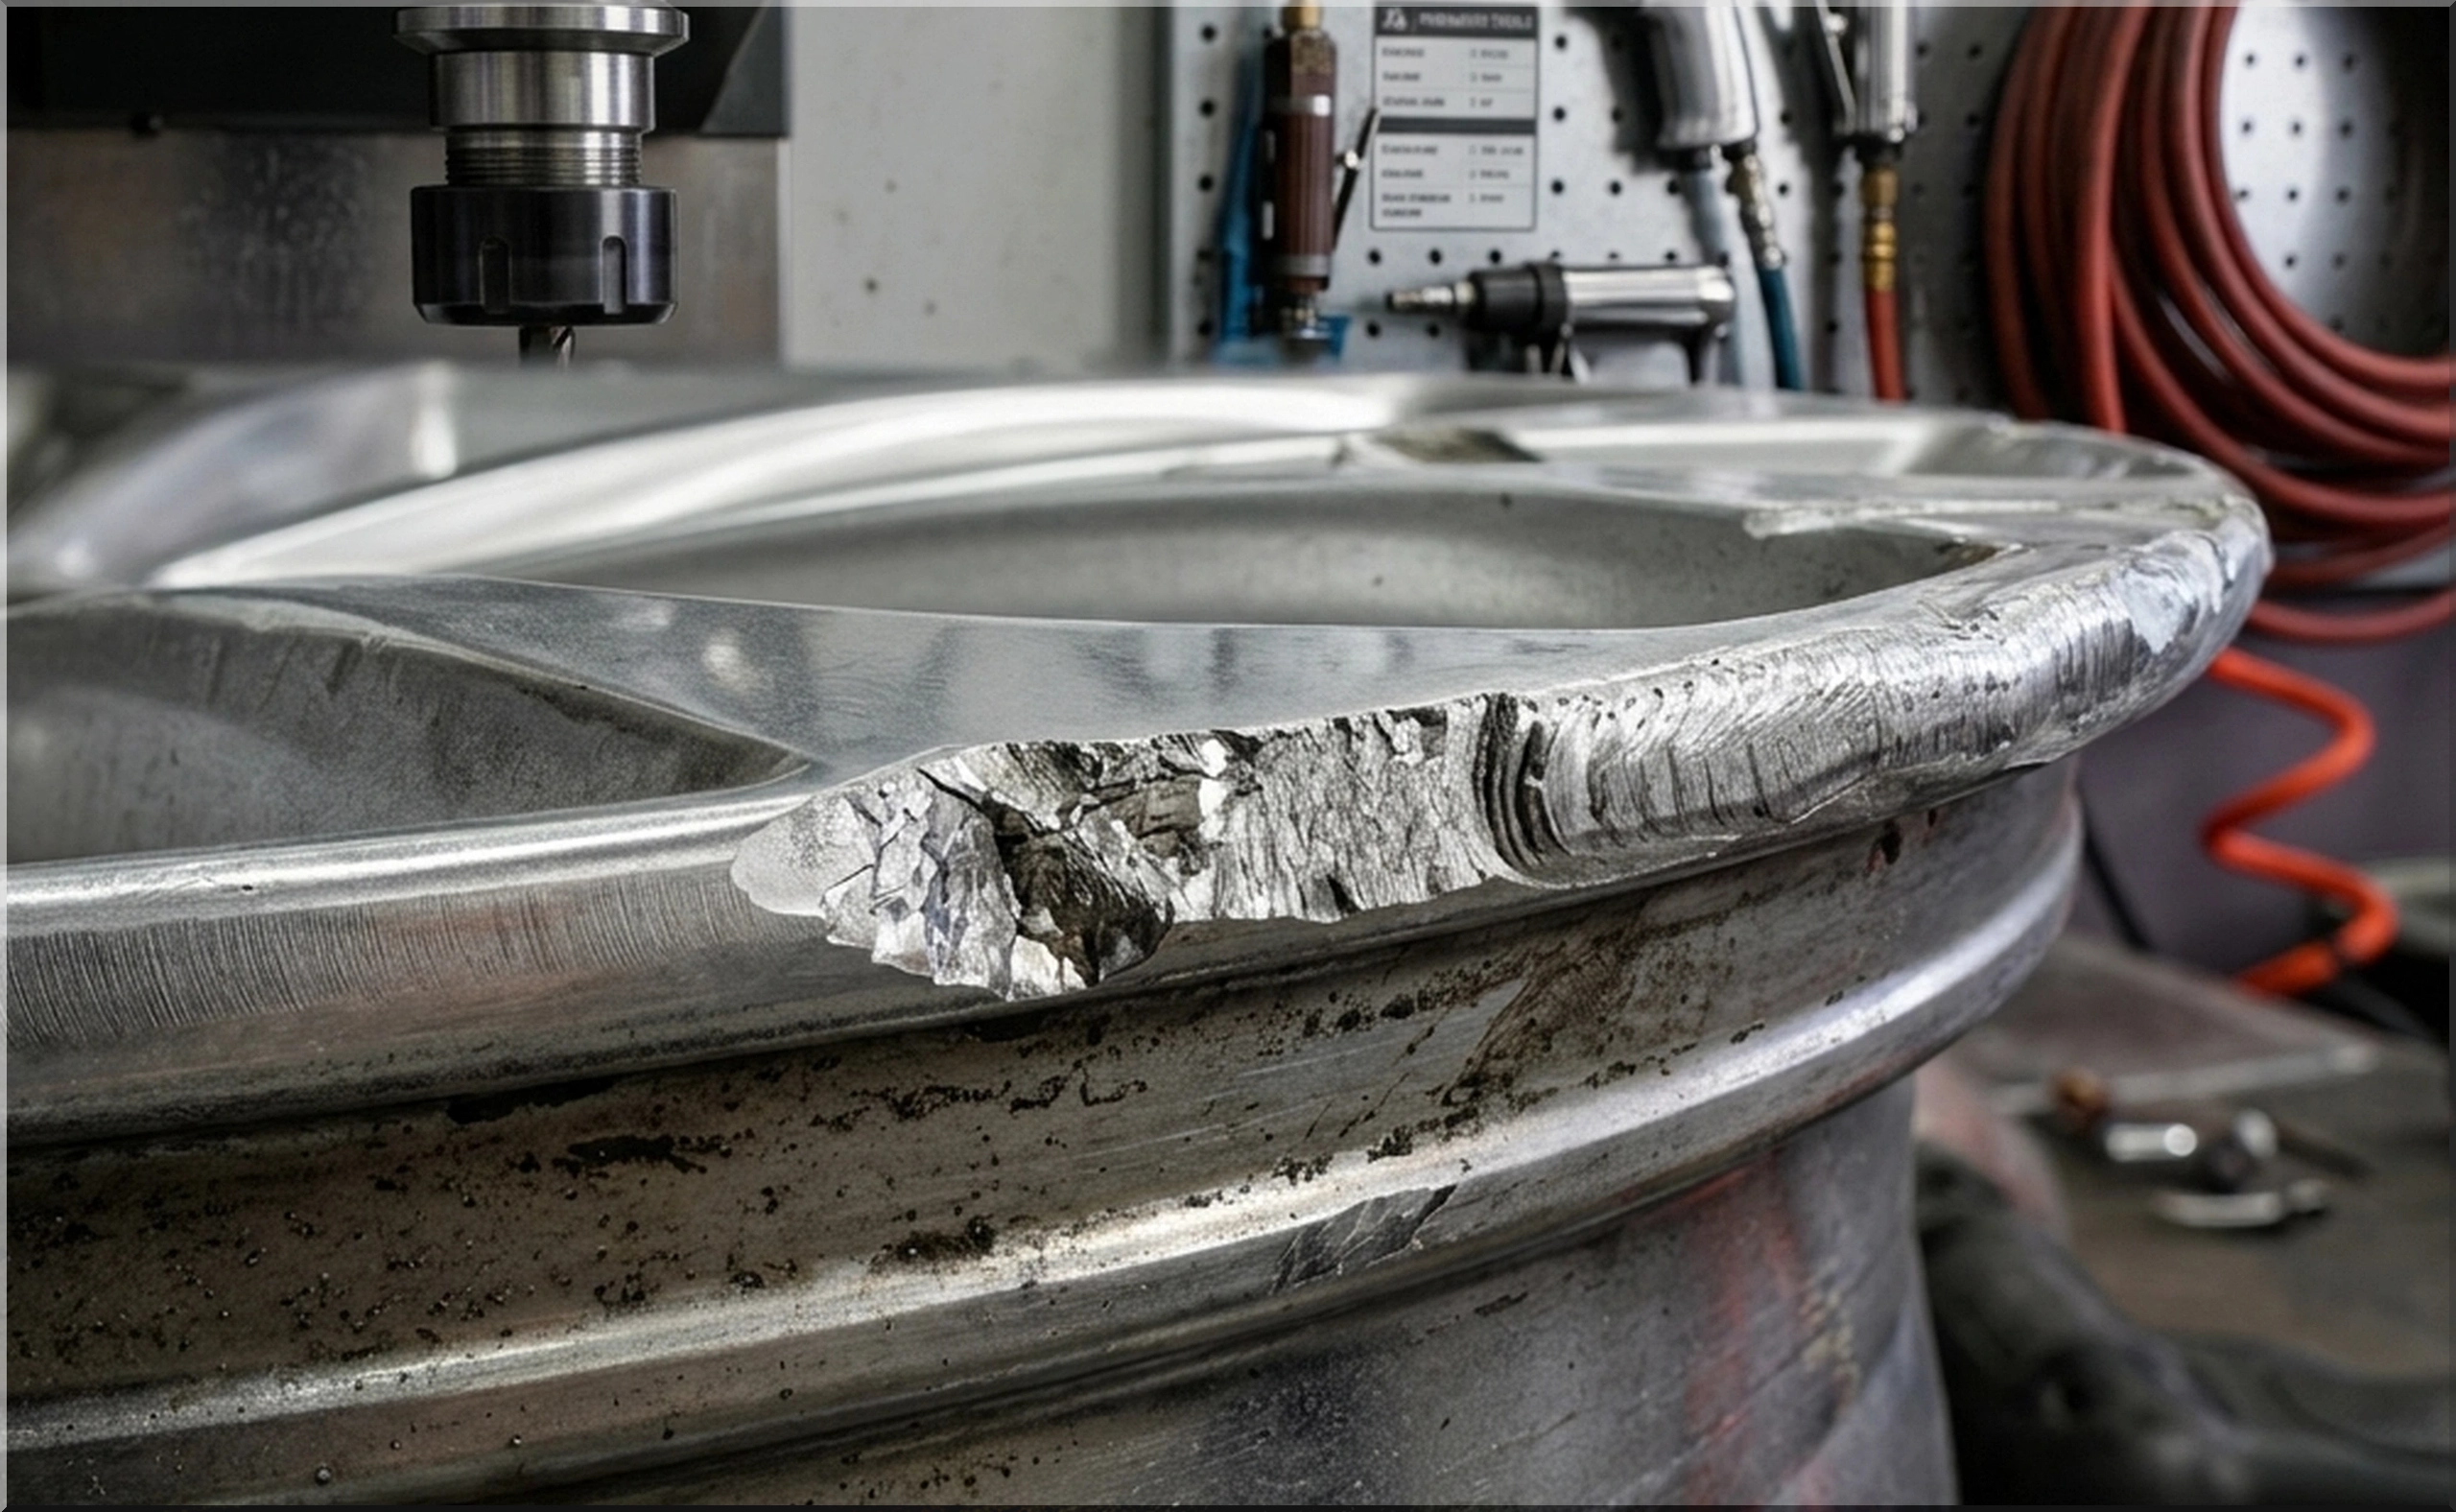
| Deep gouge with missing metal | Potential structural or bead-area damage | Stop DIY | Get professional inspection before refinishing. |
| Crack anywhere on the wheel | Structural failure risk | Stop DIY | Do not drive on it. Replace or have a qualified wheel specialist assess it. |
| Bent rim lip | Out-of-round wheel or bead seal issue | Stop DIY | Check for air loss and vibration. Use a professional repair or replacement. |
| Slow air leak after curb impact | Bead seat, crack, valve, or rim deformation | Stop DIY | Have the wheel and tire inspected immediately. |
| Vibration after the hit | Bent wheel, tire damage, or balance problem | Stop DIY | Get the wheel balanced and inspected before cosmetic work. |
| Damage near spokes, lug holes, or center hub | Load-bearing area concern | Stop DIY | Replace or professionally inspect the wheel. |
Tools and materials for a DIY curb-rash repair
- Wheel cleaner or degreaser
- Isopropyl alcohol or wax-and-grease remover
- Masking tape and masking paper or plastic
- Sandpaper: 180, 240, 400, 800, and 1000 grit
- Small sanding block or foam pad
- Alloy wheel filler or metal-compatible spot putty
- Plastic spreader
- Primer made for wheels or metal surfaces
- Wheel paint matched to your finish
- Automotive clear coat
- Microfiber towels
- Nitrile gloves, eye protection, and a proper respirator
Before you start: inspect the wheel like a pro
Do not jump straight to sanding. First, confirm that the damage is only cosmetic. Wash the wheel, dry it, and inspect it under bright light from several angles.
- Check tire pressure. Record PSI, then check again the next day. A drop can mean bead-seat damage, valve damage, or a cracked wheel.
- Look for cracks. Inspect the outer lip, inner barrel, spokes, and lug-hole area.
- Spin-check if possible. A wheel that wobbles on a balancer or causes highway vibration needs professional attention.
- Inspect the tire sidewall. A curb strike can damage the tire, not just the rim. Bulges, cuts, or exposed cords mean the tire is unsafe.
- Find the finish type. Painted alloy wheels are the best DIY candidates. Diamond-cut, polished, chrome, and specialty finishes are harder to match at home.
Image
Step-by-step DIY curb-rash repair
1. Clean the wheel thoroughly
Clean the damaged area with wheel cleaner, then remove brake dust, tar, wax, and silicone residue. Paint will not stick to contamination. Finish with alcohol or wax-and-grease remover and let the surface dry completely.
2. Mask the tire and surrounding wheel
Mask the tire sidewall tightly where it meets the rim. Cover the valve stem, lug holes, brake components, and nearby bodywork. Overspray has a gift for finding expensive places to land.
3. Sand the damaged lip
Start with 180 or 240 grit on the roughest scratches. Use light pressure and keep the sanding area controlled. Your goal is to smooth raised edges and feather the damaged paint, not remove a dramatic amount of metal.
Move to 400 grit once the sharp edges disappear. Avoid flat-spotting the rim lip. Keep the curve of the wheel intact.
4. Apply alloy filler only where needed
Use filler for shallow gouges that remain after sanding. Apply a thin layer with a plastic spreader and slightly overfill the damaged area. Let it cure fully according to the product instructions.
Do not use filler to hide a crack, fill a chunk missing from a bead seat, or rebuild a badly deformed rim. That is cosmetic theater, not a safe repair.
5. Sand the filler smooth
Shape the cured filler with 240 or 400 grit, then refine with 800 grit. Run your fingertip lightly over the repair. If you can feel a ridge, paint will show it. Keep sanding until the transition feels smooth.
6. Prime the repair area
Apply several light coats of primer instead of one heavy coat. Let each coat flash before the next one. Primer helps paint adhere and gives the repair a uniform base.
7. Paint in thin coats
Use wheel paint that closely matches your factory finish. Spray light coats from multiple angles, keeping the can moving. Heavy coats create runs, texture, and obvious repair edges.
8. Clear coat for protection
After the color coat flashes, apply clear coat in light, even coats. Clear coat protects the repair from brake dust, road salt, water, and UV exposure. Let the wheel cure fully before washing or applying tire dressing near the repair.
9. Recheck balance, pressure, and finish
After the repair cures, inspect the wheel in daylight. Check tire pressure again after 24 hours. If you feel vibration on the road, get the wheel balanced and inspected.
When to stop DIY immediately
Stop the project and move to professional inspection or replacement if you find any of the following:
- A visible crack on the lip, spoke, barrel, or near lug holes.
- A bent rim lip that changes the wheel's shape or tire seal.
- A slow air leak after the curb strike.
- Vibration, shaking, or pulling after the impact.
- Damage inside the barrel where you cannot inspect or refinish safely.
- Damage at the bead seat where the tire seals to the wheel.
- Deep missing metal rather than surface scratching.
- Damage on a high-load area such as a spoke, lug-hole area, or center hub.
Special finishes: where DIY gets tricky
Painted silver, gray, black, or machined-look wheels give DIYers the best chance of a clean result. Other finishes raise the difficulty fast.
- Diamond-cut wheels: These often need a lathe to restore the machined face correctly.
- Polished aluminum: Matching shine and grain direction takes skill and time.
- Chrome wheels: Peeling, pitting, or cracked chrome usually needs professional refinishing or replacement.
- Matte wheels: Clear-coat sheen mismatch can make a repair obvious.
- Powder-coated wheels: Aerosol paint can cover damage, but it rarely matches factory powder durability.
DIY repair cost vs professional wheel repair
| Repair path | Typical best use | Pros | Limits |
|---|---|---|---|
| DIY touch-up | Small scuffs and shallow paint chips | Low cost, fast, good for daily drivers | Finish match may not be perfect |
| DIY sanding, filler, paint | Light to moderate cosmetic rash | Better appearance and corrosion protection | Requires patience, masking, and curing time |
| Mobile wheel repair | Cosmetic rash on common painted wheels | Cleaner finish, convenient | Not a structural repair |
| Shop refinishing | Diamond-cut, polished, powder-coated, or premium wheels | Best finish match | Higher cost and more downtime |
| Replacement | Cracked, badly bent, or unsafe wheels | Restores safety margin | Most expensive option |
Pro-Tip: do not sand the tire sidewall
When the rash sits close to the tire, protect the sidewall with tape and a plastic card or shield. Sandpaper, solvents, and paint products belong on the wheel, not the tire. If the tire sidewall shows a cut, bubble, or exposed cord after the curb hit, address the tire first.
How to prevent curb rash next time
- Use mirror tilt-down when backing near curbs.
- Leave more curb clearance with low-profile tires.
- Avoid stretching narrow tires on wide wheels if you want rim protection.
- Choose tires with rim protectors for urban parking.
- Install wheel protectors only if they fit securely and do not interfere with balancing or tire seating.
FAQs
Can curb rash cause a tire leak?
Light cosmetic curb rash usually does not cause a leak. A harder curb hit can bend the rim lip, damage the bead seat, or crack the wheel, which can lead to slow air loss.
Can I use body filler on an alloy wheel?
Use a filler designed for metal or alloy wheel repair. Standard body filler may not handle wheel heat, vibration, and exposure as well.
Can I repair a cracked wheel at home?
No. A cracked wheel is not a cosmetic problem. Stop driving on it and get a qualified inspection or replace the wheel.
Will DIY curb-rash repair look perfect?
It can look very good on painted wheels, but perfect color and texture matching takes professional equipment, especially on diamond-cut, polished, chrome, matte, or powder-coated finishes.
Do I need to remove the tire to fix curb rash?
Not always for a light outer-lip cosmetic repair, but removing the tire produces better access and a cleaner finish. Professional refinishing often requires tire removal.
Bottom line
DIY curb-rash repair makes sense when the damage is shallow, cosmetic, and limited to the wheel's outer finish. Clean it, sand it, fill it lightly, prime it, paint it, and seal it. Stop the moment the damage looks structural. A wheel that is cracked, bent, leaking, or vibrating needs inspection, not a prettier paint job.
Image Gallery
- 474 views